

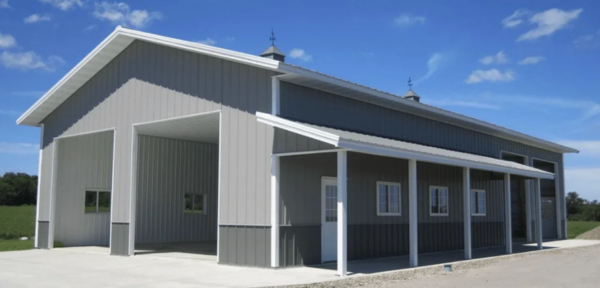
What Is A Pole Barn?

If you’ve ever wondered what is a pole barn? A pole barn is a simple yet versatile structure, typically supported by vertical poles anchored in the ground. These barns have been around for decades and are known for their cost-effectiveness and durability. They’re commonly used for agricultural storage, workshops, garages, or even homes. The simplicity of their design makes them highly adaptable for various purposes.
One of the key reasons I’m passionate about pole barns is their practicality. They are a very cost-effective option for anyone looking to build a strong and functional structure. Whether your needs involve space for some livestock, equipment, or an extra garage, pole barns are always a reliable choice that doesn’t even scarify quality.
What Are The Benefits Of Pole Barn Construction?
When it comes to construction projects, pole barns stand out for their numerous benefits. It is very affordable. People will seek to maximize the budget and prefer a pole barn because the design is so simple that fewer materials are needed. This consequently reduces costs to that point.
Another reason to build a pole barn is its durability. These buildings can withstand tough weather conditions since the poles are sturdy, and so is the material. Additionally, their versatility is unmatched. You can make your pole barn fit any kind of requirement, ranging from simple agricultural storage to cozy residential use.
Over the years, I’ve found that pole barn pros outweigh the cons, making them a practical and cost-effective solution for a variety of needs. Whether you’re looking for a functional workspace or a unique home, a pole barn can deliver.
When hiring local pole barn builders in Idaho, prioritize experience and customer reviews to ensure quality workmanship. Check out our article on Hiring the Best Local Pole Barn Builders in Idaho.
What Types of Tools & Materials Are Required For Building A Pole Barn?

You are actually building a pole barn, the ideal combination of tools and materials necessary to ensure sturdy and efficient results. Essential tools include measuring tools, cutting tools, digging equipment, fastening tools, and safety gear for accuracy and protection. Materials like posts, roofing, siding, fasteners, concrete, and optional insulation are crucial for durability and functionality. By having everything ready, you can streamline your project and achieve professional results.
Essential Tools Needed for Construction
To ensure a smooth construction process, having the right tools is crucial. Here’s a breakdown:
- Measuring Tools: Any solid structure is based on accurate measurements. A tape measure and a level are some of the critical tools to make sure everything is aligned correctly. Measuring tools for pole barn construction is non-negotiable if you want a precise build.
- Cutting Tools: Cutting wood and metal requires reliable tools like a circular saw, reciprocating saw, and tin snips. These cutting tools for pole barns make it easier to prepare materials to the correct dimensions.
- Digging Equipment: Setting poles requires proper excavation. A post-hole digger or auger simplifies this step. Investing in post-hole diggers for pole barns saves both time and effort.
- Fastening Tools: Tools like hammers, power drills, nail guns, and wrenches are essential for assembling materials. These fastening tools for pole barn assembly ensure everything is securely attached.
- Safety Gear: Never compromise on safety. A hard hat, gloves, safety glasses, and ear protection are vital. Safety gear for pole barn construction protects you throughout the project.
Materials Required for Building a Pole Barn
When planning your build, the right materials are just as important as the tools. Here’s what you’ll need:
- Posts: Pressure-treated wood or steel posts provide the structural support needed for your barn. Choosing the best posts for pole barns ensures stability and longevity.
- Roofing Materials: Metal panels or shingles are popular choices for a weather-resistant roof. Metal roofing for pole barns is durable and long-lasting.
- Siding: Options include metal, vinyl, or wood panels for the barn’s exterior. Pole barn siding options vary based on your aesthetic and functional preferences.
- Fasteners: Nails, screws, bolts, and brackets are essential for securing your structure. Use the right fasteners for pole barns to ensure everything stays in place.
- Concrete: This anchors the poles securely in the ground, adding stability. Concrete for pole barn posts is a critical component of any build.
- Trusses: Pre-fabricated or custom-built trusses provide roof support. Pole barn trusses help distribute the weight evenly across the structure.
- Insulation (Optional): If climate control is needed, consider adding pole barn insulation materials to keep the interior comfortable.
10 Easy Steps to Build a Pole Barn

A pole barn really doesn’t have to be an intimidating project if you break it down into steps that don’t overwhelm you. These 10 easy steps ensure a smooth process from planning to completion, including a durable and functional structure.
Step 1: Plan Your Pole Barn Design
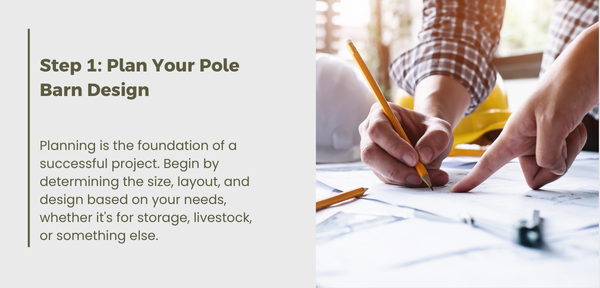
Planning is the foundation of a successful project. Begin by determining the size, layout, and design based on your needs, whether it’s for storage, livestock, or something else. Tools like barn design software or templates can help you visualize the structure and work out details like spacing and access. Taking time to plan your pole barn layout ideas ensures efficiency and minimizes potential issues later. Additionally, consider how your barn’s location and orientation might impact its usability, such as sunlight exposure and wind protection.
Step 2: Obtain Necessary Permits

Securing the proper permits is an essential step. Each area has unique building codes and zoning regulations, so it’s crucial to research these thoroughly. Applying for pole barn permits will ensure compliance with local laws and prevent potential legal or safety concerns. Start early to avoid project delays, and have all documentation ready for review, including plans and materials. Local authorities can be helpful during this process.
Step 3: Choose the Right Materials

Selecting the best materials directly affects your barn’s durability and functionality. Use pressure-treated wood for barns to prevent rot and decay, and opt for metal pole barn roofing for its weather-resistant properties. Compare suppliers for cost and quality in your environment and intended use of the materials. Pole barn materials are worth investing in today to avoid repair and replacement in the future.
Step 4: Prepare the Site
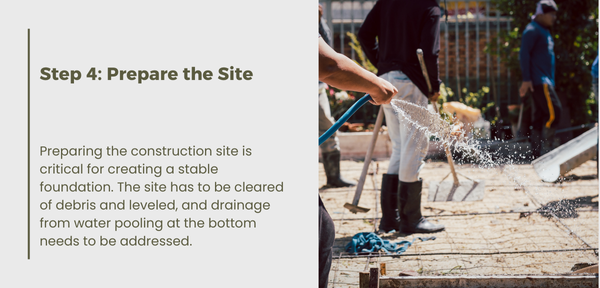
Preparing the construction site is critical for creating a stable foundation. The site has to be cleared of debris and leveled, and drainage from water pooling at the bottom needs to be addressed. Proper pole barn site preparation not only improves stability but also extends the lifespan of your structure. For areas with uneven terrain, consider additional grading to achieve a flat and secure base.
Step 5: Install the Poles
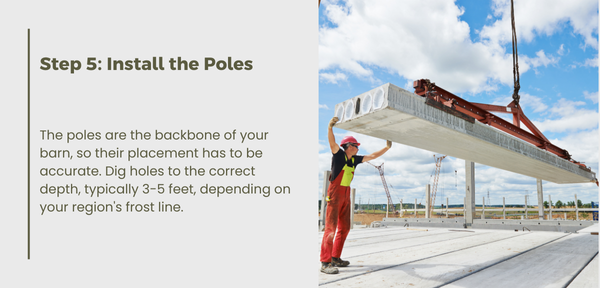
The poles are the backbone of your barn, so their placement has to be accurate. Dig holes to the correct depth, typically 3-5 feet, depending on your region’s frost line. Position the poles evenly, ensuring proper spacing for structural integrity. Secure the poles with concrete for pole barn posts to provide a firm and lasting foundation. Use tools like a level to confirm alignment before the concrete sets.
Step 6: Frame the Structure

With the poles securely in place, attach horizontal framing to form the barn’s walls and roof structure. This step requires accurate measurements and sturdy fastening for optimal strength. Following a pole barn framing guide can help ensure all components align correctly. Proper framing also contributes to the barn’s ability to withstand heavy loads and adverse weather.
Step 7: Add the Roof
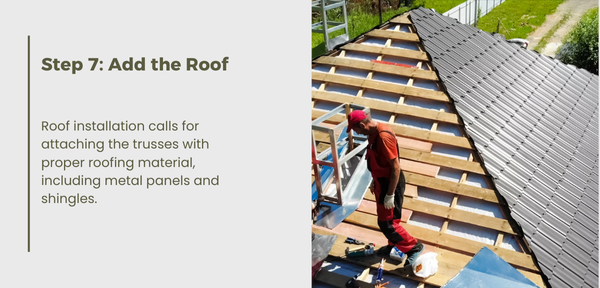
Roof installation calls for attaching the trusses with proper roofing material, including metal panels and shingles. Pay heed to weather-proof techniques such as closing joints or overlaps to prevent entry from the leak onto the internal. Proper pole barn roof installation helps protect investment and ensures added durability.
Step 8: Install Siding and Doors
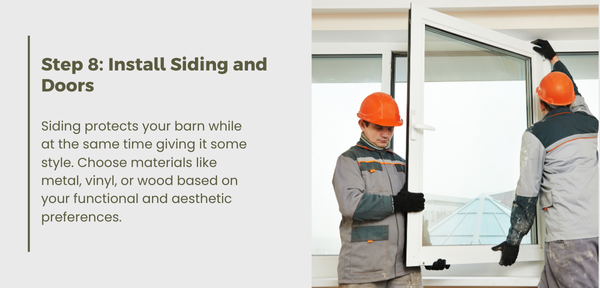
Siding protects your barn while at the same time giving it some style. Choose materials like metal, vinyl, or wood based on your functional and aesthetic preferences. Install doors and windows for ventilation and accessibility. Explore pole barn siding options to find a balance between cost, appearance, and maintenance requirements. Consider customizing door placement to suit your specific use case.
Step 9: Add Electrical and Plumbing
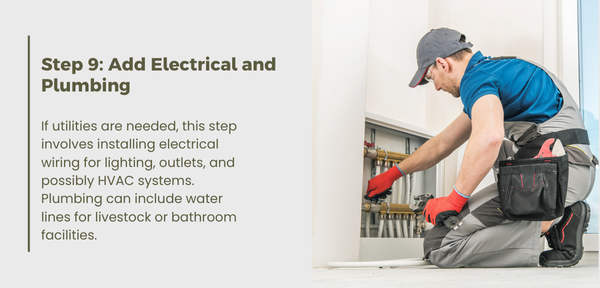
If utilities are needed, this step involves installing electrical wiring for lighting, outlets, and possibly HVAC systems. Plumbing can include water lines for livestock or bathroom facilities. Work with licensed professionals to meet safety standards and integrate pole barn utilities seamlessly into your design. Thoughtful utility placement enhances the barn’s functionality.
Step 10: Final Touches and Maintenance

The final stage focuses on protecting and personalizing your pole barn. Seal or paint the barn to shield it from weather damage and extend its lifespan. Maintenance checks of fasteners and cleaning of surfaces keep your barn in tip-top condition. Additional features, such as shelving, storage racks, and partitions, may make the structure more user-friendly. With diligent pole barn maintenance, your structure will serve you well for decades.
Frequently Asked Questions About Building A Pole Barn
What is the disadvantage of a pole barn?
Pole barns may require additional insulation investments to achieve the same energy efficiency as traditional structures.
What size pole barn is most cost-effective?
Smaller barns, such as 30×40, are typically the most affordable option while providing adequate space for various uses.
What is the purpose of a pole barn?
Pole barns serve as versatile structures ideal for storage, workshops, agricultural use, or even residential living spaces.
How deep should a pole barn hole be?
The depth of the hole should range between 3 to 5 feet, depending on your region’s frost line and soil conditions.
What is the best base for a pole barn?
A level gravel base or concrete foundation is recommended for the long-term stability and durability of the structure.
How to build a 30×40 pole barn?
Proceed by following the guide steps, employing quality materials, and scaling the labor to meet the size of the barn.
How to build a 40×60 pole barn?
Building larger barns requires comprehensive planning, quality materials, and adherence to permitting requirements.
How to build a pole barn on a budget?
Save costs by using affordable materials, performing some tasks yourself, and sourcing tools and supplies at a discount.
Ready To Begin Building A Dream Pole Barn?
Building a pole barn is one of the most satisfying projects in affordability, durability, and versatility. To achieve your project, you can go ahead and build an appropriate structure based on the information given in this article. Whether you’re looking for a DIY pole barn guide or a professional pole barn builder, Cascade Custom Construction is here to help.
Feel free to explore the resources at Cascade Custom Construction to bring your vision to life. Don’t hesitate to reach out for guidance or support—your dream pole barn is just a few steps away!